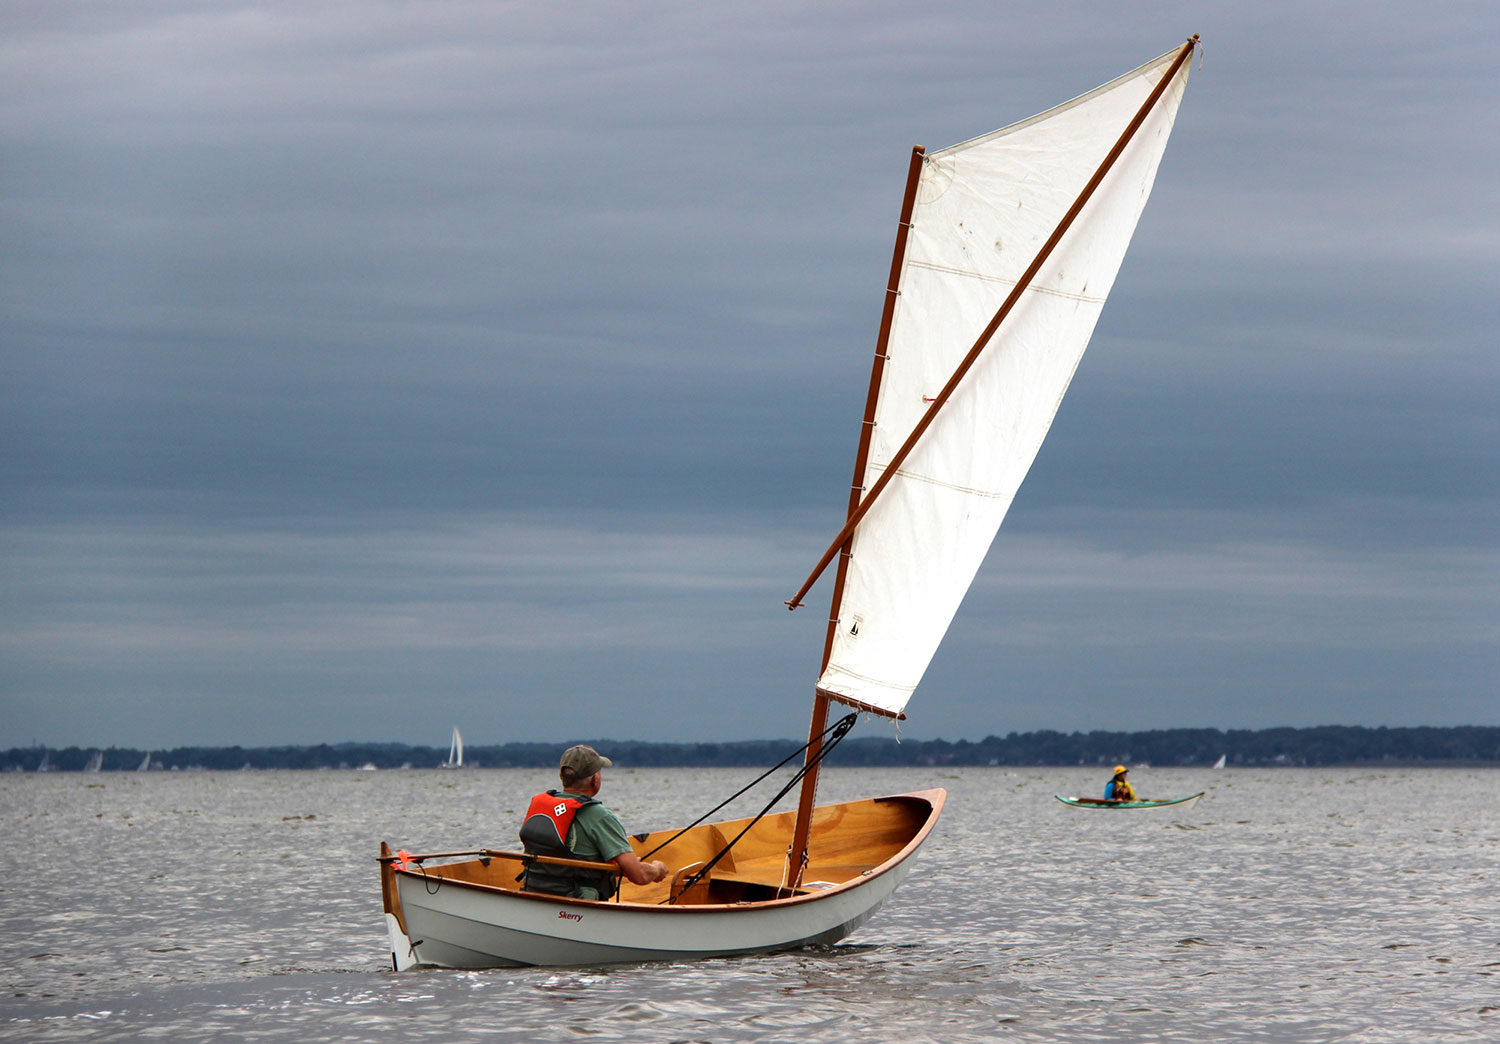
Building a Classic Wooden Dinghy with Modern Tools
The rhythmic tap of a hammer on wood, the sweet smell of freshly cut timber, and the satisfying feel of smooth, polished wood â€" these are just some of the joys of building a classic wooden dinghy. While traditional methods have been used for generations, modern tools can significantly enhance the process, making it more efficient and accessible. This article will guide you through the steps of building a classic wooden dinghy, showcasing how modern tools can be integrated seamlessly.
Choosing the Right Design
Start by selecting a design that suits your needs and skill level. Classic dinghy plans are readily available online and in books. Consider factors like:
- Length: Longer dinghies offer more stability and space but are heavier to row.
- Beam: A wider beam provides more stability, but it might make rowing more challenging.
- Draft: Shallow draft is crucial for exploring shallow waters, while deeper drafts offer better performance in open water.
- Material: Traditionally, cedar or mahogany are preferred for their durability and beauty. Modern alternatives like marine plywood or fiberglass offer cost-effectiveness and ease of construction.
Gathering Materials and Tools
Once you have your design, gather the necessary materials. Modern woodworking tools can simplify the process significantly:
- Power Planer: Smooths out the lumber, ensuring a consistent surface for assembly.
- Table Saw: Cuts wood accurately and efficiently, especially when working with complex shapes.
- Band Saw: Creates intricate curves and shapes, ideal for crafting the dinghy’s graceful lines.
- Orbital Sander: Provides smooth, consistent sanding for a polished finish.
- Laser Measuring Tool: Ensures precise measurements for accurate cuts and assembly.
- Digital Angle Gauge: Helps to maintain accurate angles during construction, vital for structural integrity.
Cutting and Shaping the Planks
Start by cutting the planks to size using the table saw or band saw. Modern tools allow for precise cuts, minimizing waste.
- Plank Thickness: Select planks with the appropriate thickness for your design, typically 1/2 inch to 3/4 inch.
- Cutting Accuracy: Use a laser measuring tool and digital angle gauge to ensure accuracy during cutting.
- Plank Shapes: Use the band saw to create intricate curves and shapes, like the dinghy’s graceful stem and transom.
Assembling the Hull
The traditional method of building a wooden hull involves steam bending the planks to shape. However, modern techniques offer alternative solutions:
- Pre-Bent Planks: These are available from specialized suppliers, eliminating the need for steam bending.
- Marine Plywood: Offers a sturdy, lightweight alternative to traditional planks, simplifying the construction process.
- Epoxy Glue: Modern epoxy resins offer superior adhesion and water resistance compared to traditional wood glues.
Finishing the Dinghy
Once the hull is assembled, it needs finishing. Here's where modern tools shine:
- Power Sander: Smooths out the hull’s surface for a polished finish.
- Spray Gun: Applies marine varnish evenly, creating a protective layer that enhances the wood's natural beauty.
- Heat Gun: Helps to accelerate the drying process of varnish, saving time and effort.
Adding the Finishing Touches
Finally, add the finishing touches, like seats, rowlocks, and a keel:
- CNC Routing: Creates intricate details like decorative moldings and seat frames.
- 3D Printing: Allows for creating custom hardware like rowlocks and handles.
- Marine Hardware: Modern hardware offers durability and corrosion resistance, ensuring long-lasting performance.
Building a classic wooden dinghy with modern tools is a rewarding experience, combining traditional craftsmanship with modern efficiency. It's a journey of skill, creativity, and lasting satisfaction.
0 comments:
Post a Comment
Note: Only a member of this blog may post a comment.