Wooden Canoe Construction for Beginners: A Complete Guide
Embark on a journey of craftsmanship and create your own wooden canoe. This guide will walk you through the exciting process of building a canoe from scratch, tailored for beginners. From choosing the right materials to mastering fundamental techniques, you'll gain valuable knowledge and skills to bring your canoe to life.
1. Getting Started: Gathering Materials and Tools
Before embarking on your canoe construction adventure, ensure you have the necessary materials and tools. This foundation will set you up for success.
Choosing the Right Wood
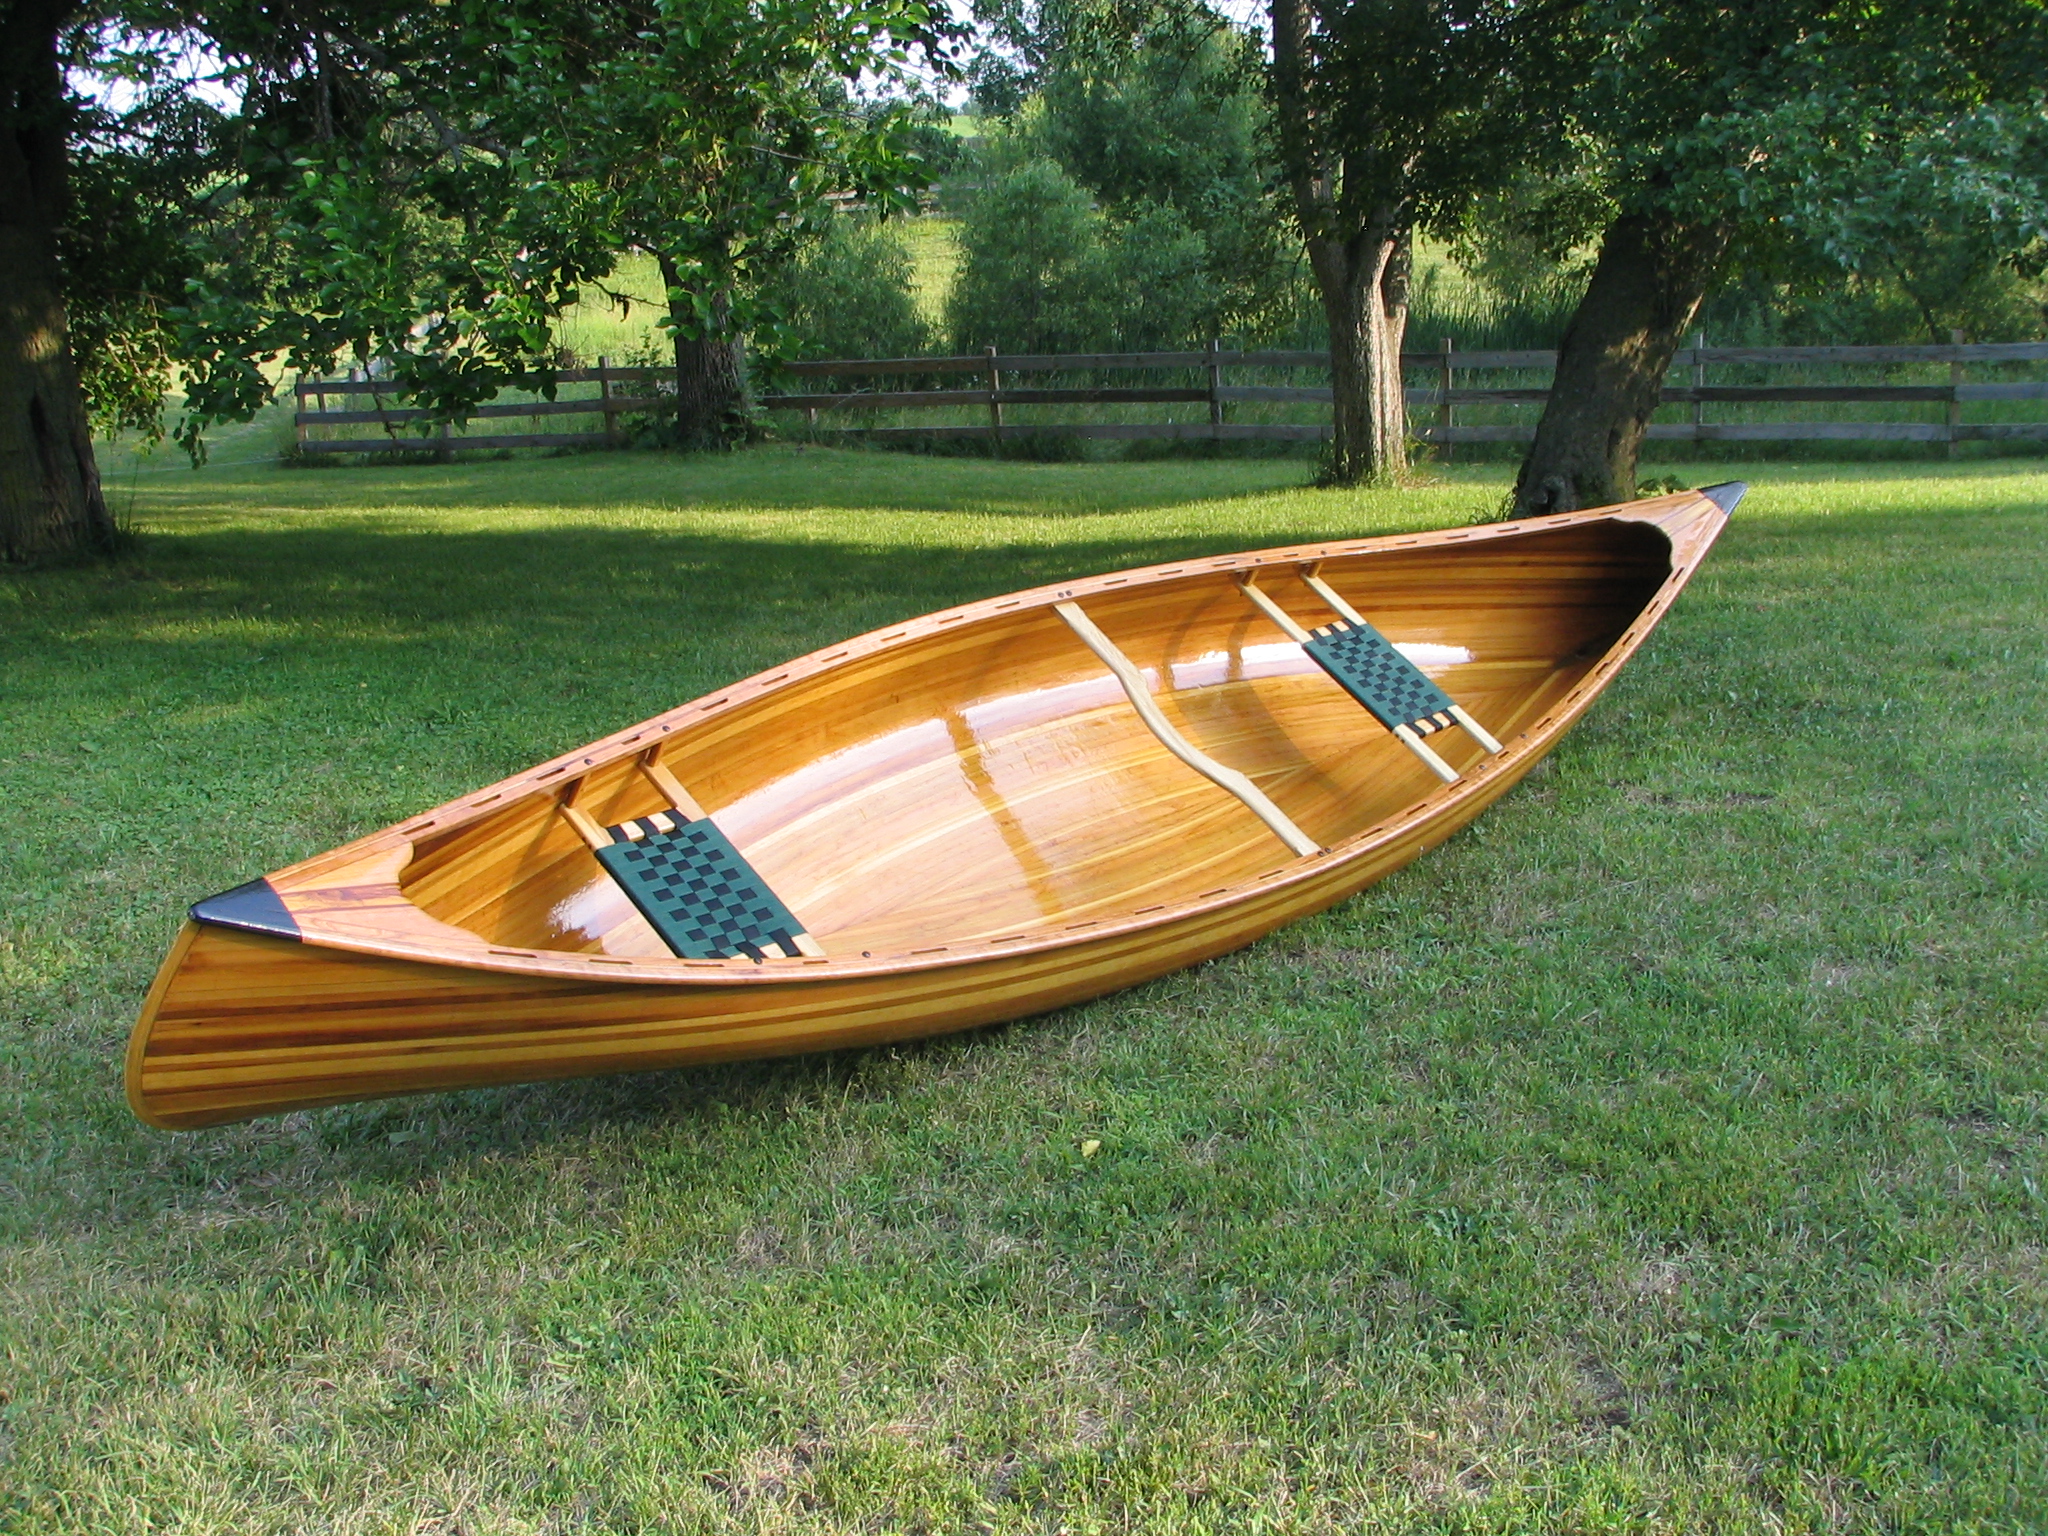
Select wood that's known for its strength and water resistance. Cedar, spruce, and mahogany are popular choices for canoe construction. Research the characteristics of each wood type to find the best match for your desired durability and aesthetics.
Essential Tools
Equip yourself with the following essential tools for a smooth construction process:
- Hand saws
- Planes
- Chisels
- Hammers
- Screwdrivers
- Clamps
- Measuring tape
- Sandpaper
- Safety glasses
- Work gloves
2. Building the Canoe Frame
The frame provides the skeletal structure of your canoe, supporting the hull. Follow these steps to construct a sturdy and reliable frame:
Constructing the Stems and Keel
Begin by shaping the stems (front and back ends) and keel (bottom centerline) from your chosen wood. These pieces form the foundation of the canoe's shape. Ensure they are cut precisely to your chosen dimensions.
Assembling the Ribs
Ribs add curvature and strength to the canoe's hull. Create ribs from wood strips, bending them to the desired shape. Secure them to the stems and keel with screws, carefully aligning each rib to ensure symmetry.
Creating the Gunwales
Gunwales run along the top edge of the canoe, providing support and a finishing touch. Cut and shape the gunwales to fit the frame, securing them to the ribs with screws or epoxy adhesive.
3. Shaping and Planking the Hull
The hull gives the canoe its distinctive shape and watertightness. Follow these steps to craft a beautiful and functional hull:
Preparing the Planking
Planking is made from thin wood strips, often called "planks." Carefully prepare them by sanding and shaping the planks to fit the curve of the frame. Use templates to guide the shaping process.
Attaching the Planks
Begin attaching the planks to the frame, starting at the keel and working your way upward. Use marine epoxy or wood glue to bond the planks to the frame and to each other. Use clamps to ensure proper alignment and secure the planks as they cure.
Finishing the Hull
Once the planking is attached, carefully sand and shape the hull, ensuring a smooth and watertight surface. Use sandpaper of increasing grits to achieve a fine finish.4. Finishing Touches and Launching Your Canoe
You're nearing the end of your canoe construction journey! Now it's time to add the finishing touches and prepare your canoe for its first launch.
Adding Finishing Touches
Apply a sealant or varnish to protect the wood from water damage and enhance its appearance. You can also add decorative elements like canvas seats, oarlocks, and a paint job to personalize your canoe.
Launching Your Canoe
The moment you've been waiting for has arrived! Carefully launch your canoe into the water. Take it for a test paddle to appreciate the fruits of your labor. Enjoy your newly crafted canoe, a testament to your craftsmanship and determination.
0 comments:
Post a Comment
Note: Only a member of this blog may post a comment.